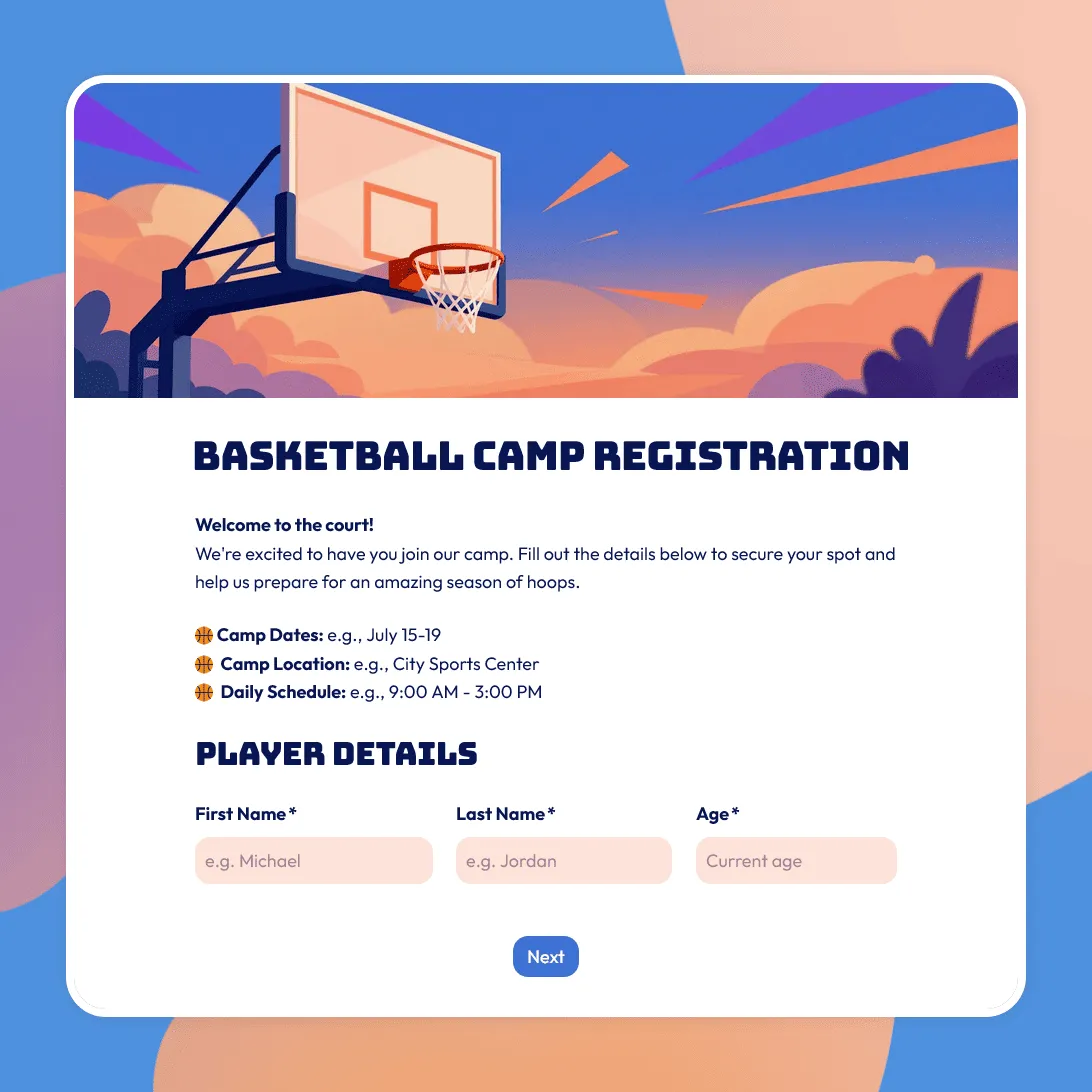
Basketball Camp Registration Form Template
Use this free basketball camp registration form template to collect player details, skill level, session choices, waivers, and emergency contacts.
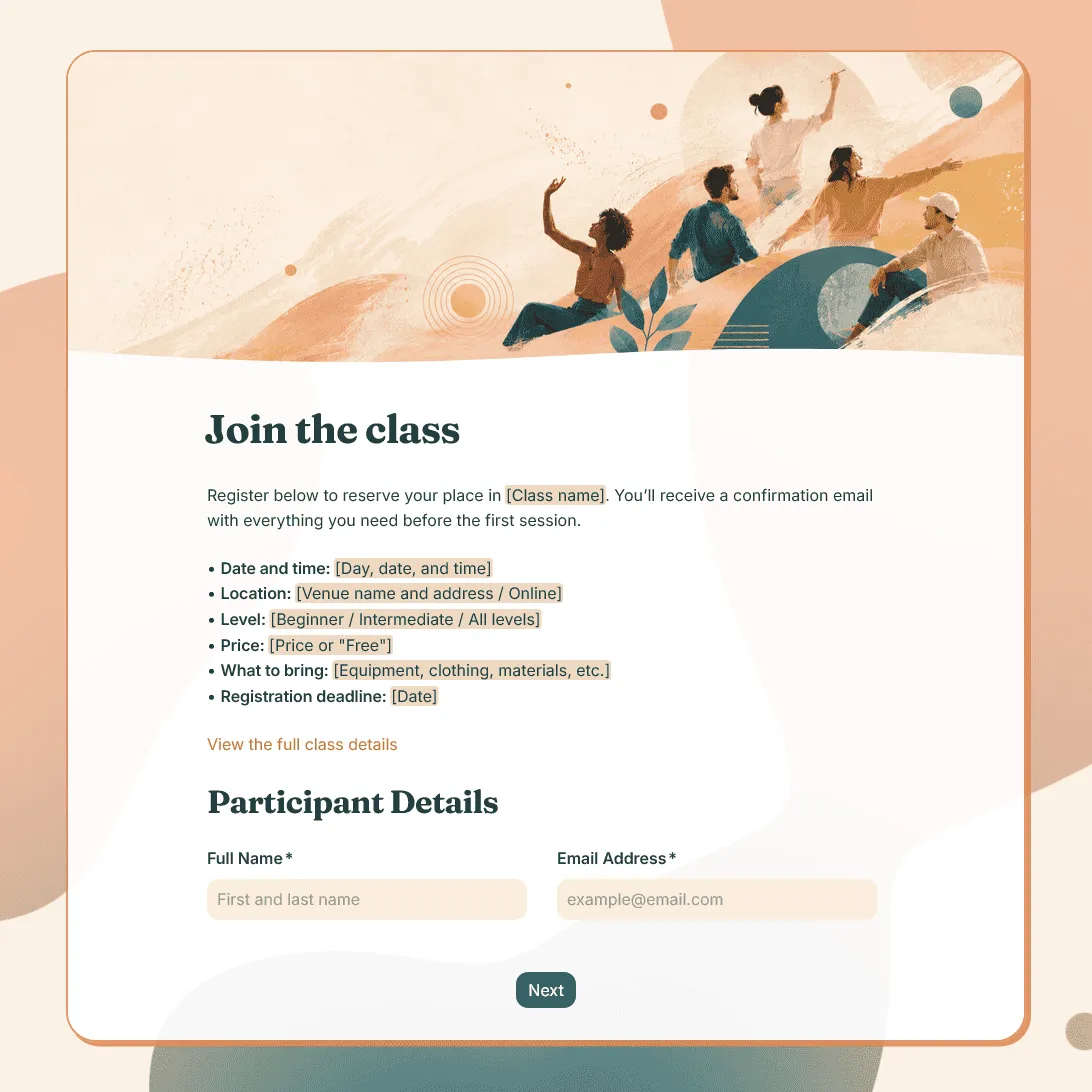
Class Registration Form Template
Use this free class registration form template to collect student details, class preferences, and more.
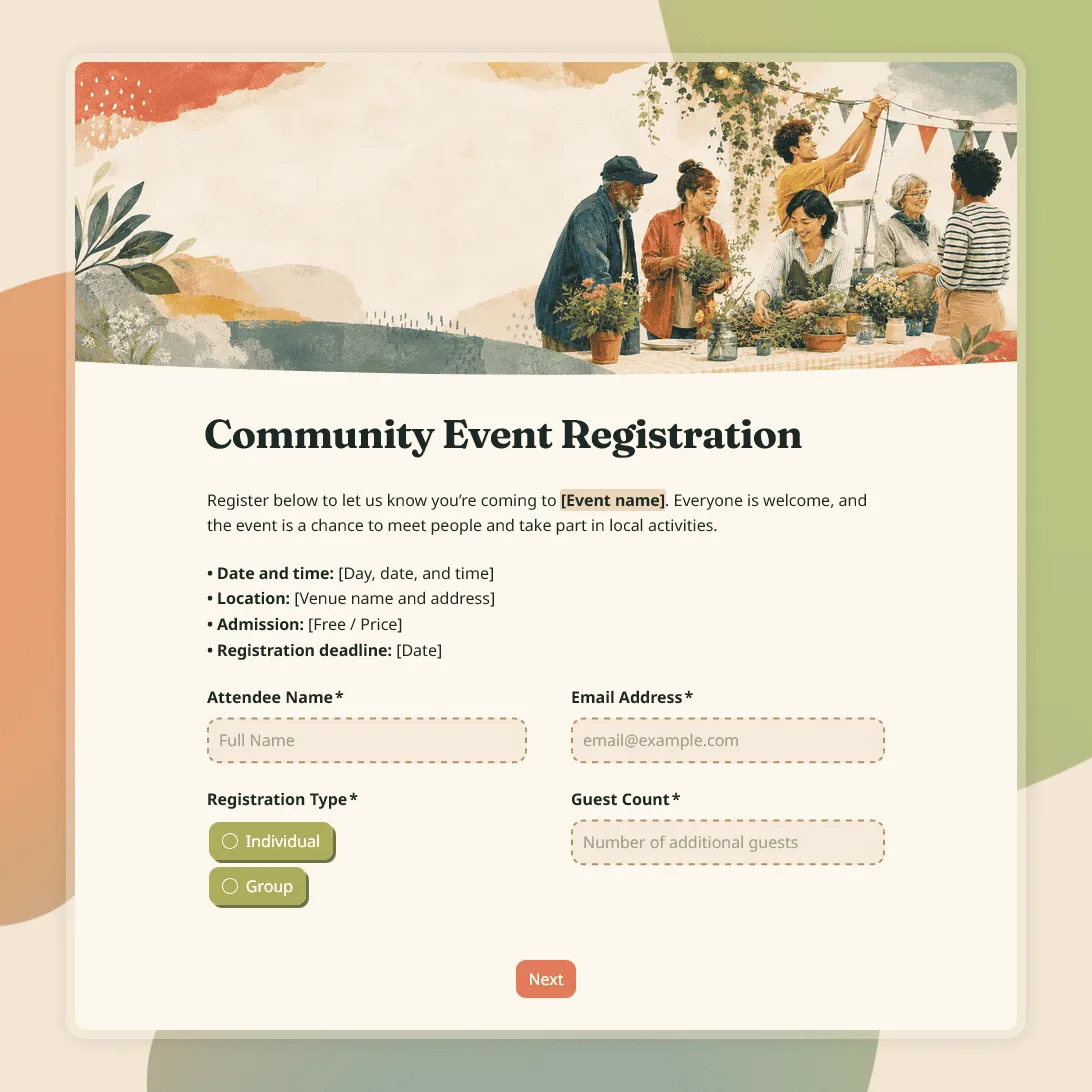
Community Event Registration Form Template
Free community event registration form template for local events, meetups, fundraisers, workshops, fairs, and public programs.
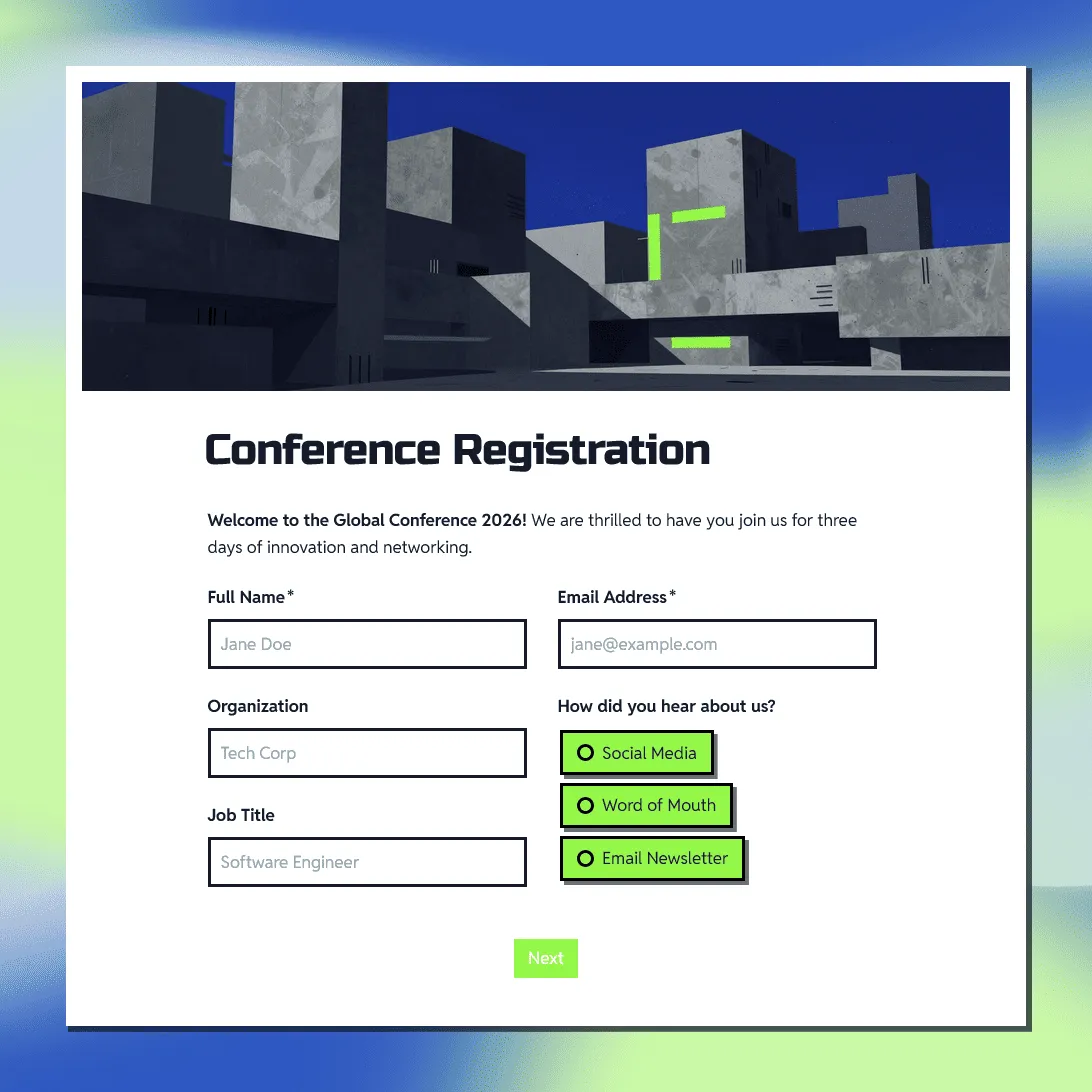
Conference Registration Form Template
Use this free conference registration form template to collect attendee details, session choices, accessibility requests, and more.
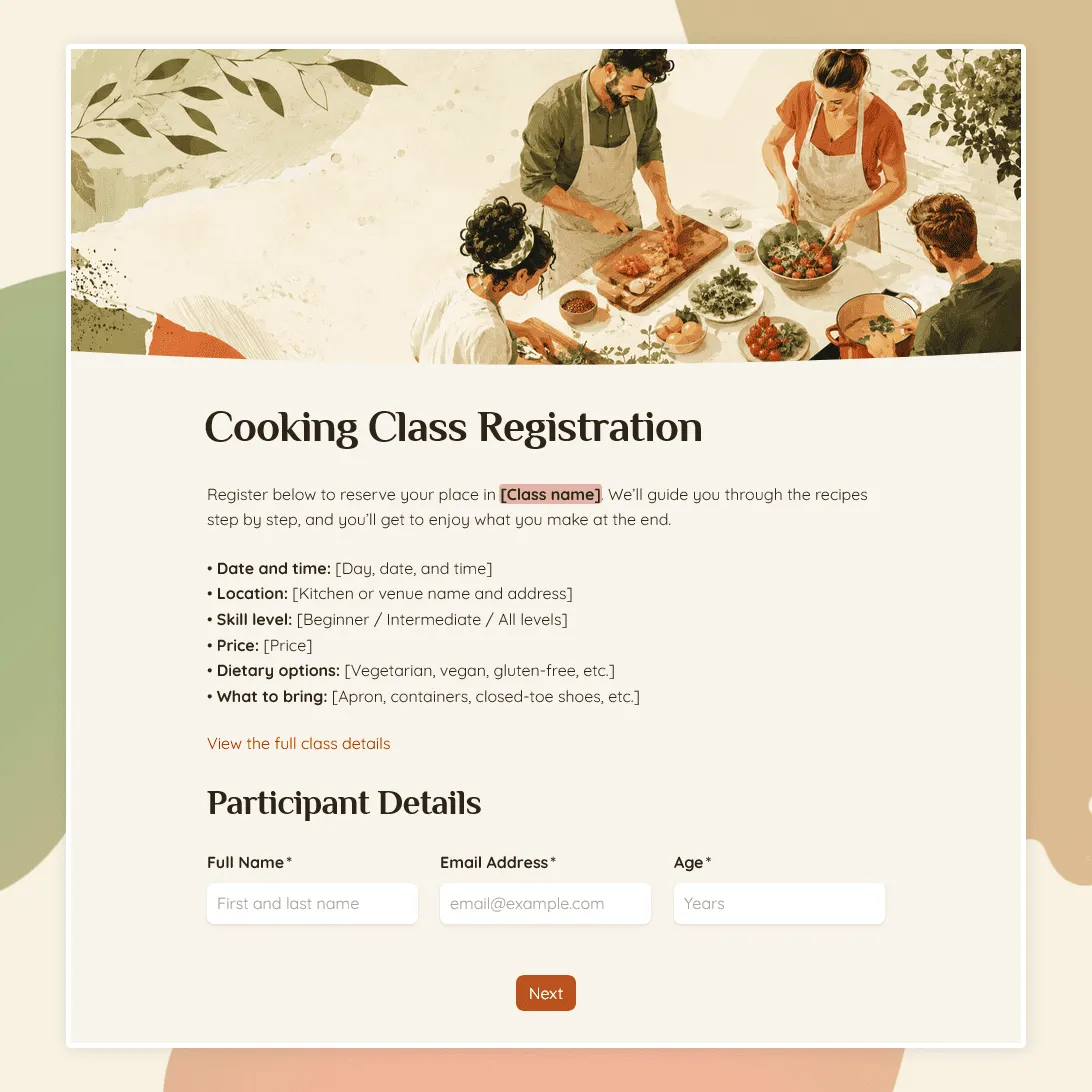
Cooking Class Registration Form Template
Use this free cooking class registration form template to collect participant details, class choices, dietary needs, allergies, and more.
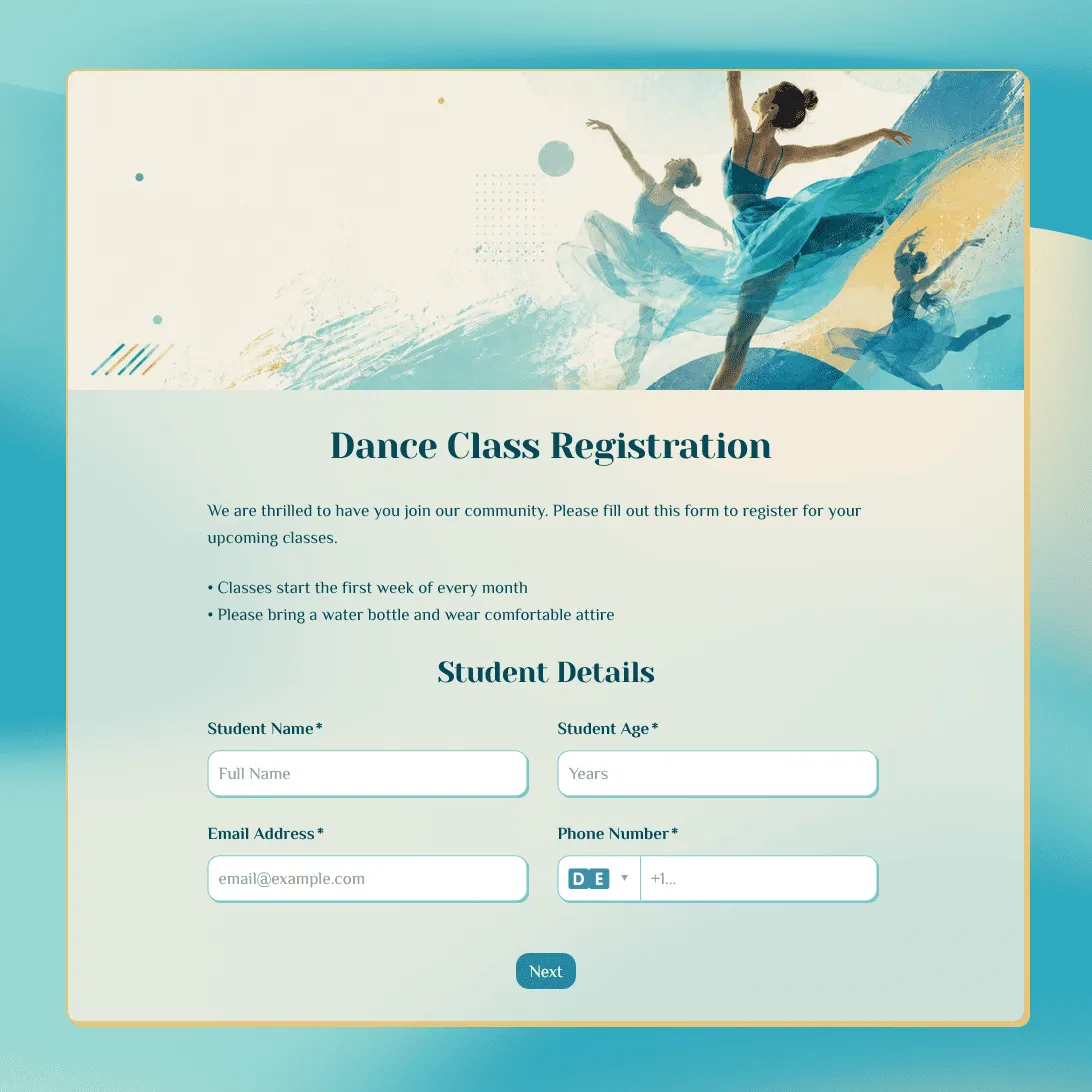
Dance Class Registration Form Template
Use this free dance class registration form template to collect student details, class preferences, and more.
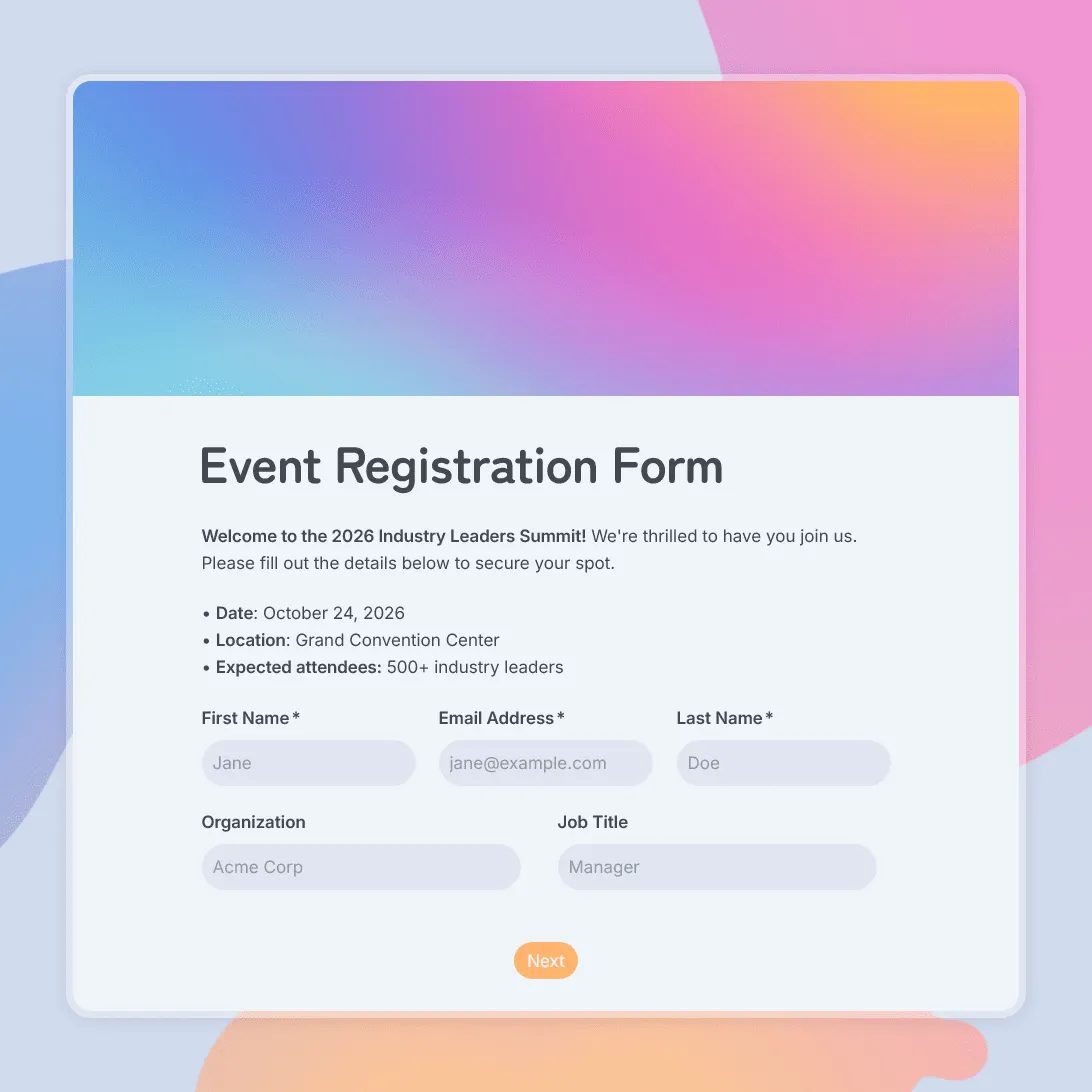
Event Registration Form Template
Use this free event registration form template to collect attendee details, preferences, and more.
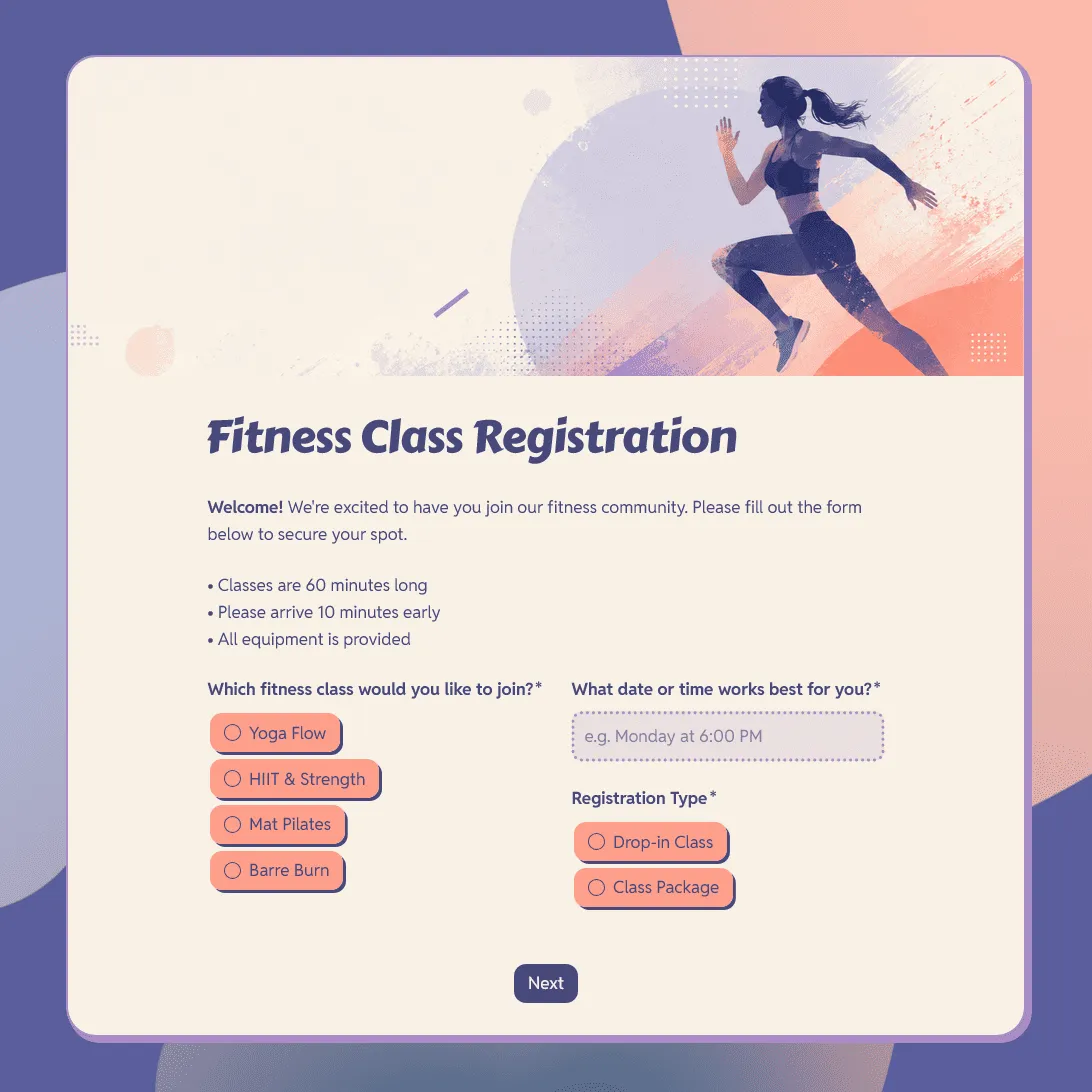
Fitness Class Registration Form Template
Use this free fitness class registration form template to collect participant details, class preferences, schedule choices, and more.
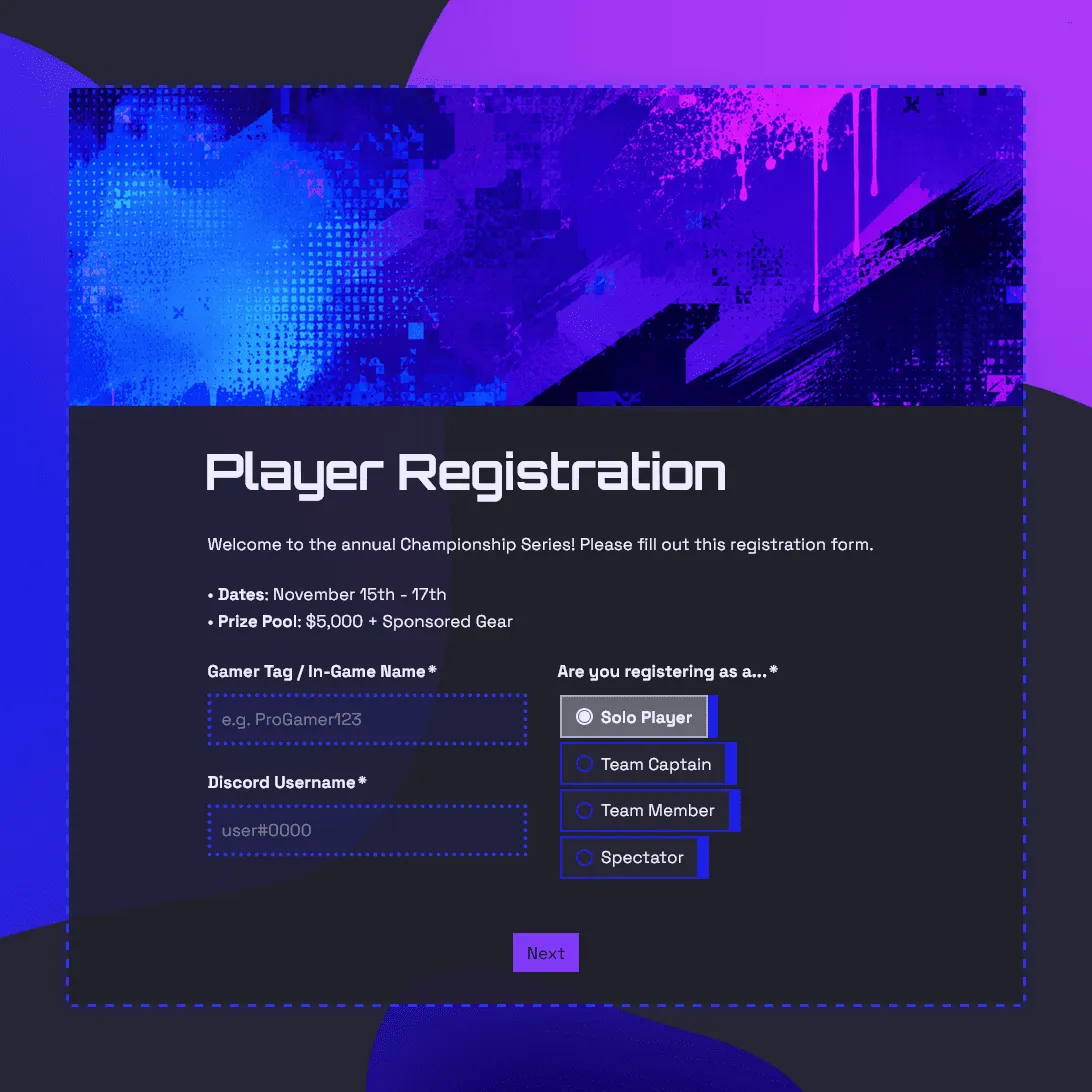
Gaming Tournament Registration Form Template
Use this free gaming tournament registration form template to collect player details, gamer tags, Discord usernames, and match availability.
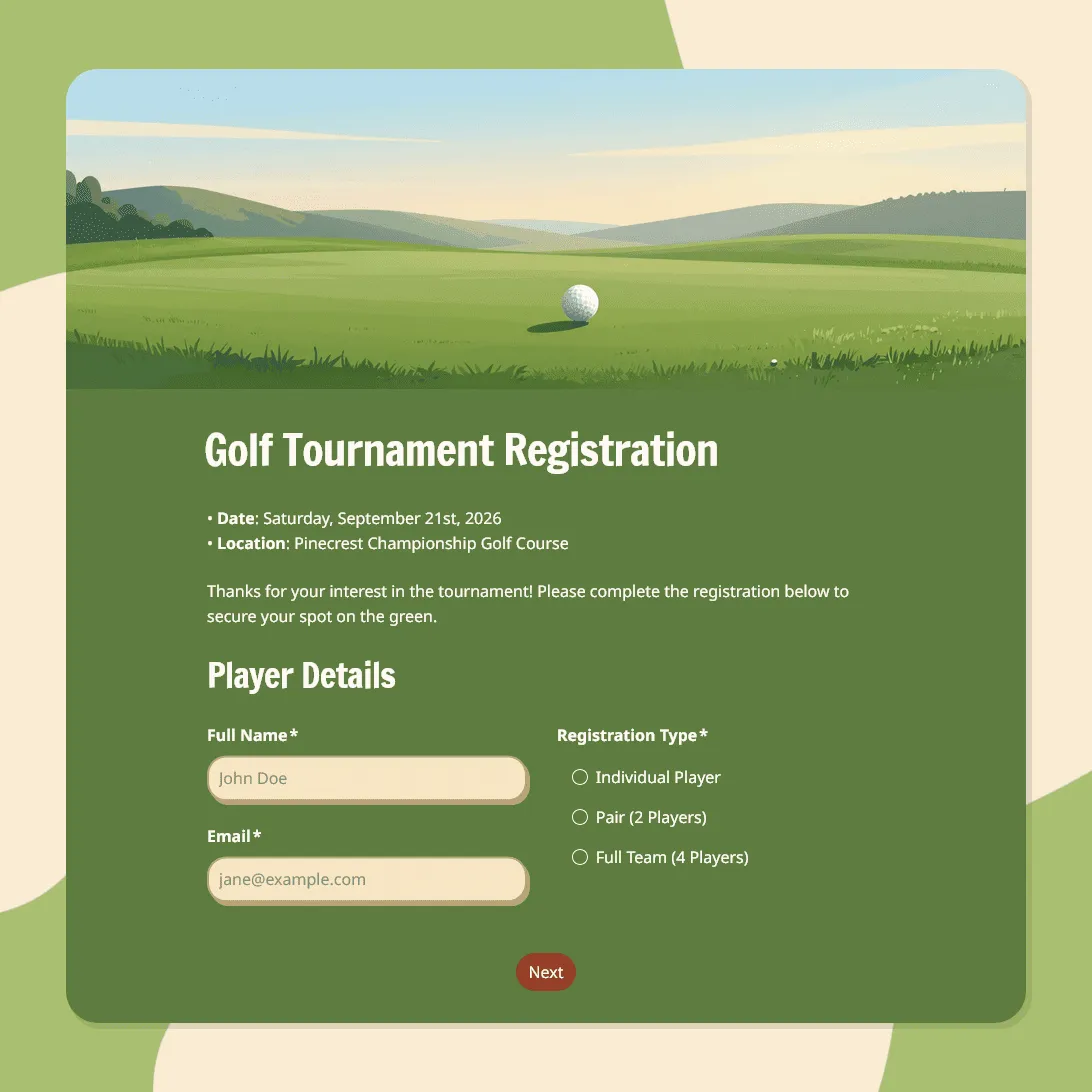
Golf Tournament Registration Form Template
Use this free golf tournament registration form template to collect player details, team signups, tee time preferences, and waivers.

Job Fair Registration Form Template
Free job fair registration form template for employers, exhibitors, and job seekers. Collect booth requirements, resumes, and attendee details in one organized form.
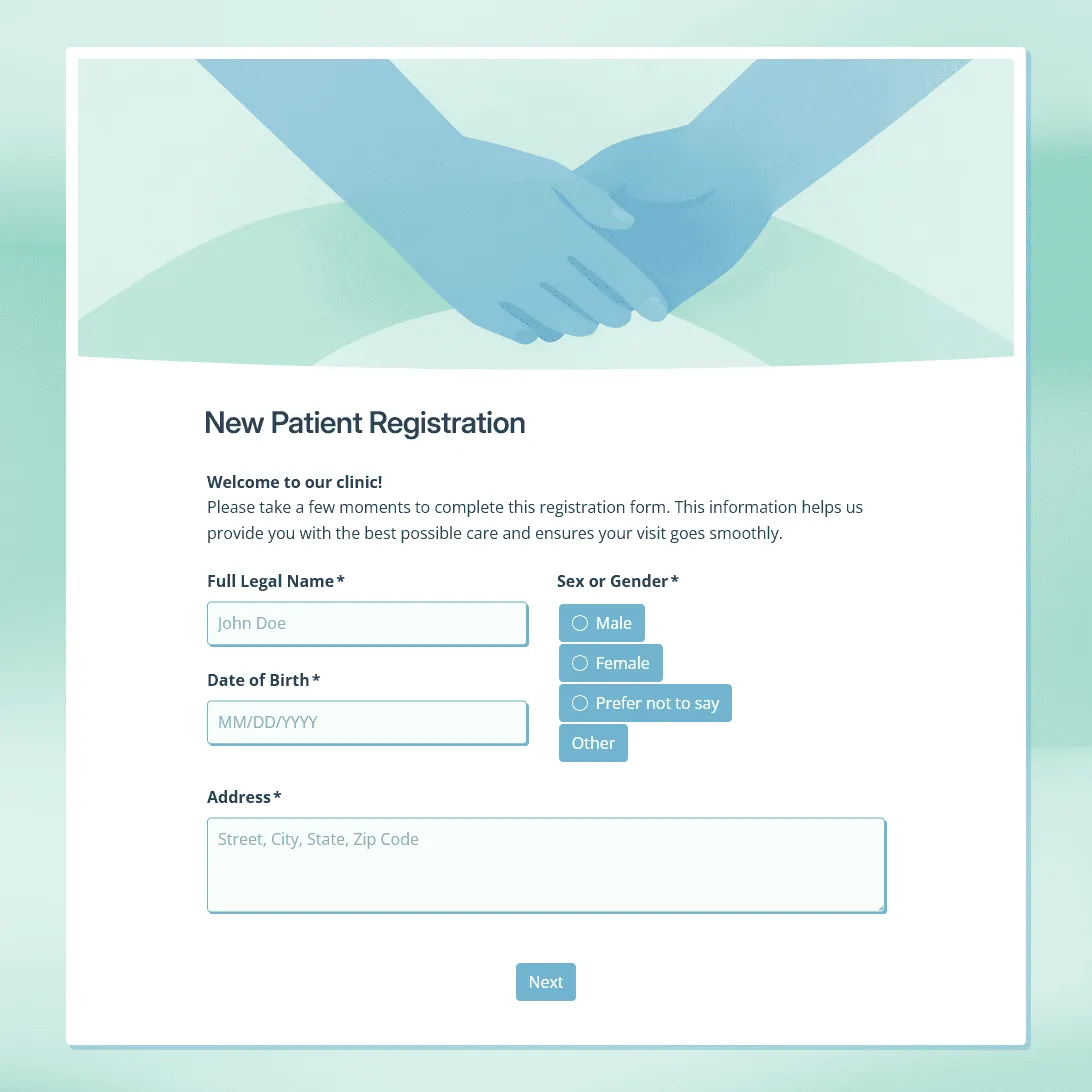
New Patient Registration Form Template
Use this free new patient registration form template for clinics and healthcare practices. Collect patient details, insurance information, medical history, and more.
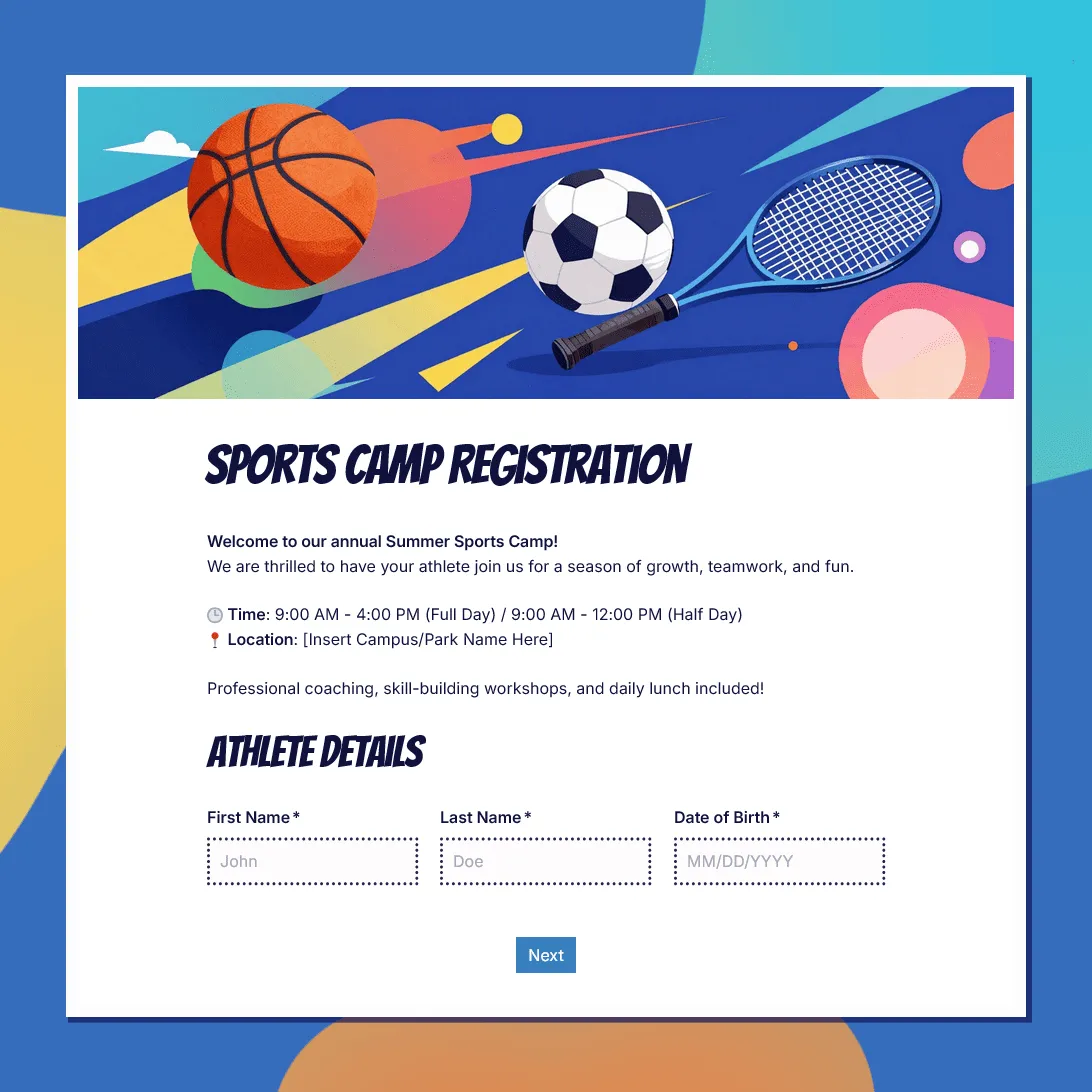
Sports Camp Registration Form Template
Use this free sports camp registration form template to collect athlete details, sport choices, waivers, and emergency contacts.
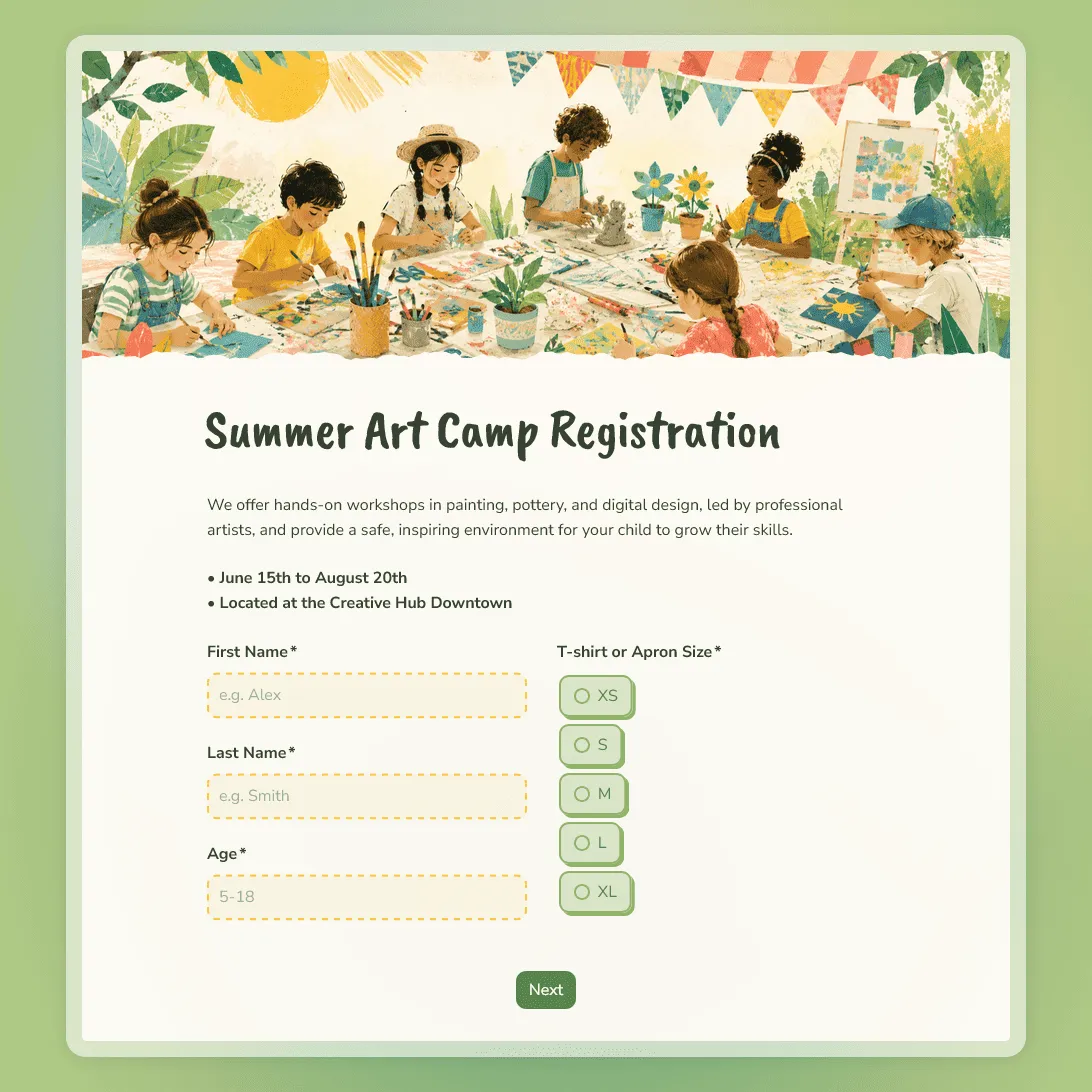
Summer Art Camp Registration Form Template
Use this free summer art camp registration form template to ccollect camper details, art experience, session choices, and parent contact information.
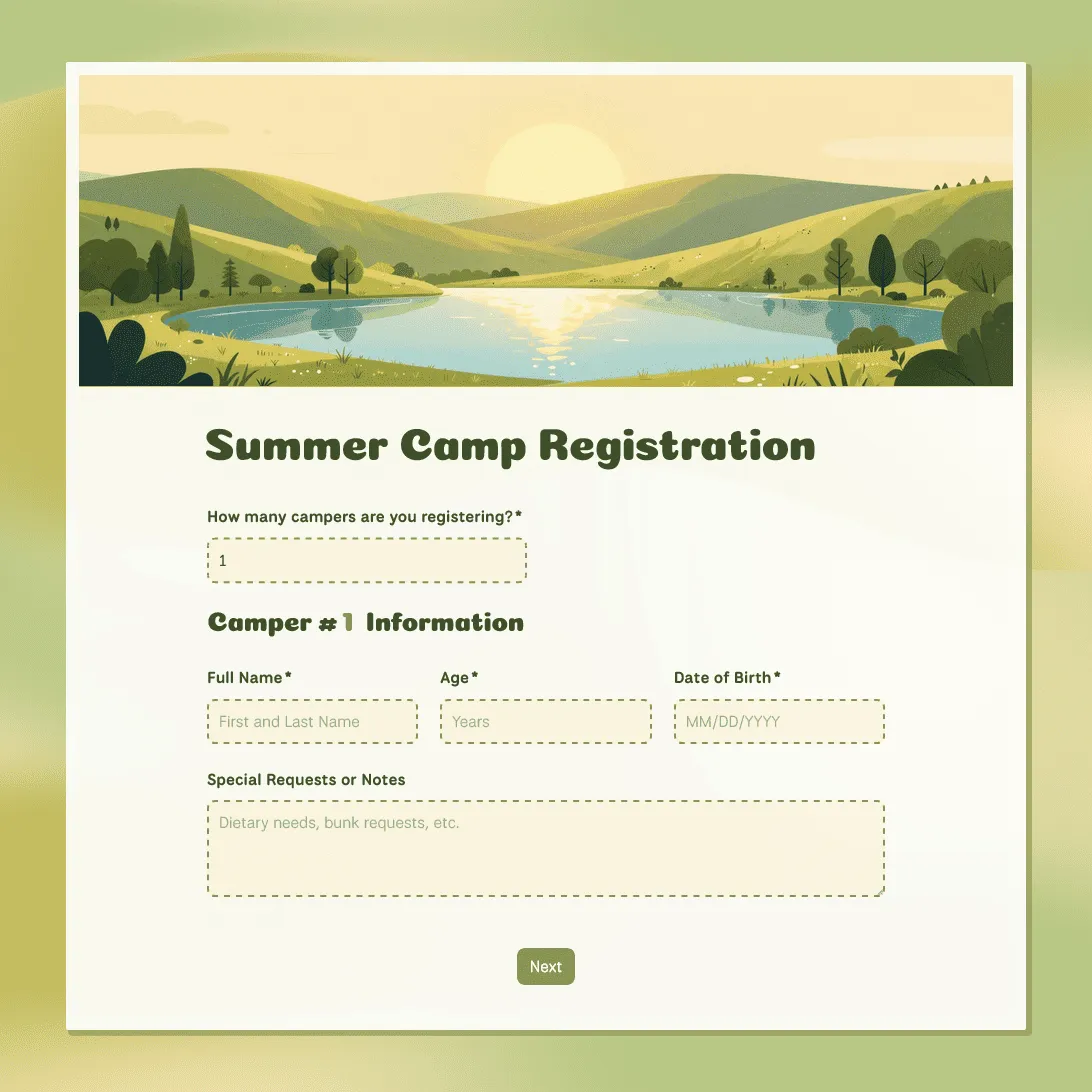
Summer Camp Registration Form Template
Free summer camp registration form template for summer programs and activities. Collect camper details, emergency contacts, waivers, and more.
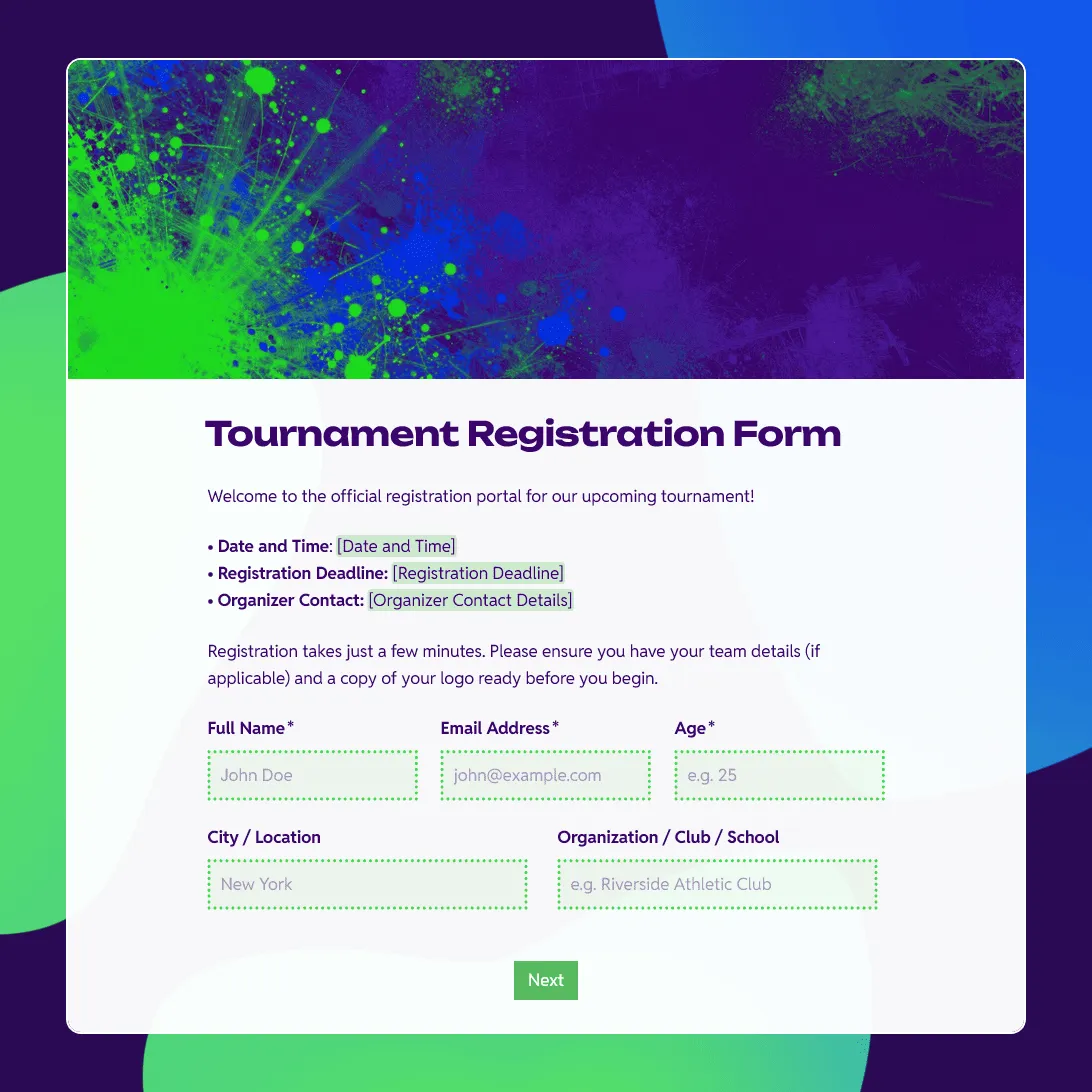
Tournament Registration Form Template
Use this free tournament registration form template to collect participant details, team entries, divisions, and waivers.
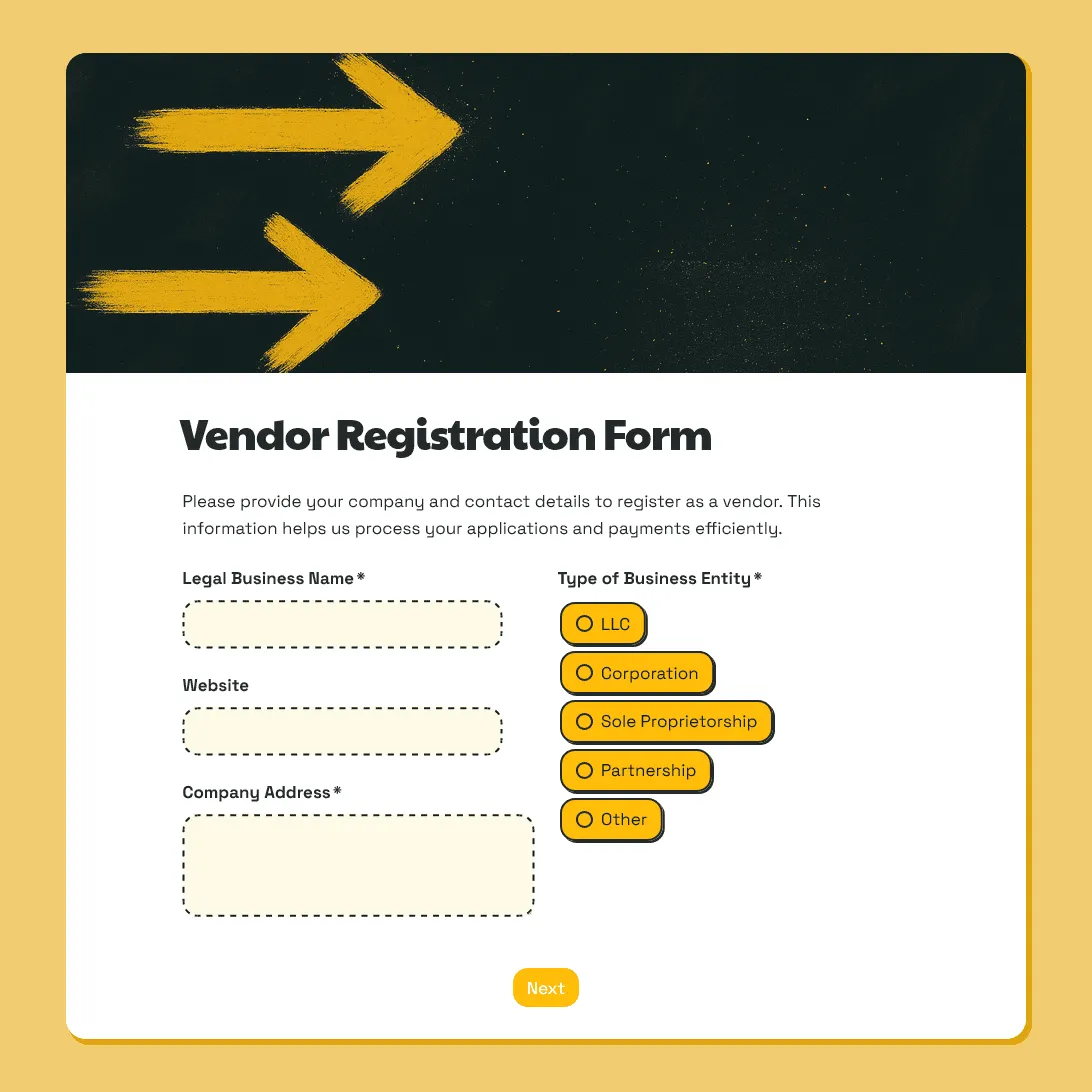
Vendor Registration Form Template
Use this free vendor registration form template to collect business details, contact information, product categories, setup needs, documents, payment details, and agreements.

Webinar Registration Form Template
Free webinar registration form template for online events, demos, and educational sessions. Capture sign-ups, profile your audience, and send login details fast.
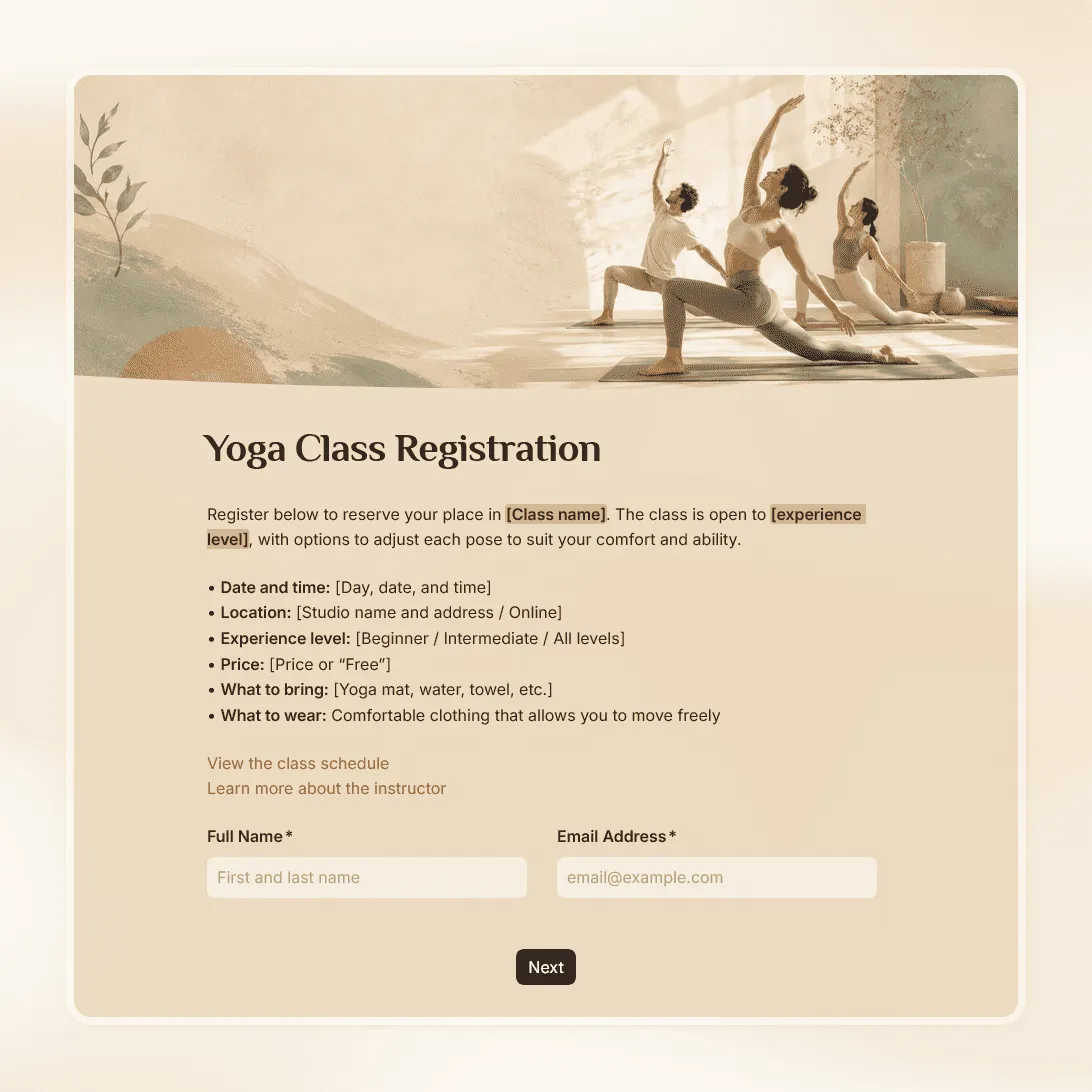
Yoga Class Registration Form Template
Free yoga class registration form template for studios, instructors, workshops, and retreats.

Art Class Registration Form Template
Free art class registration form template for studios, schools, workshops, community programs, and creative classes.
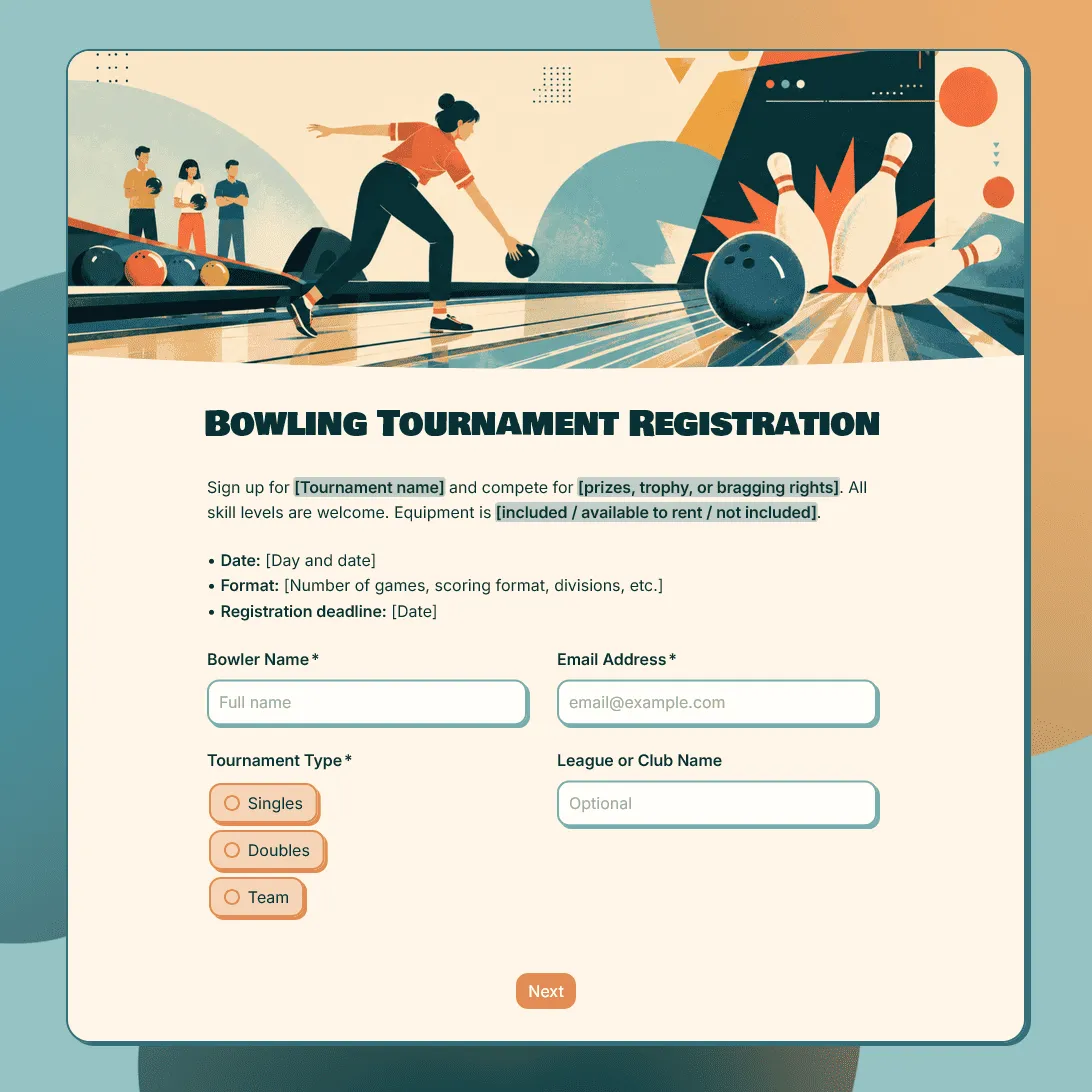
Bowling Tournament Registration Form Template
Free bowling tournament registration form template for leagues, clubs, fundraisers, school events, and local competitions.
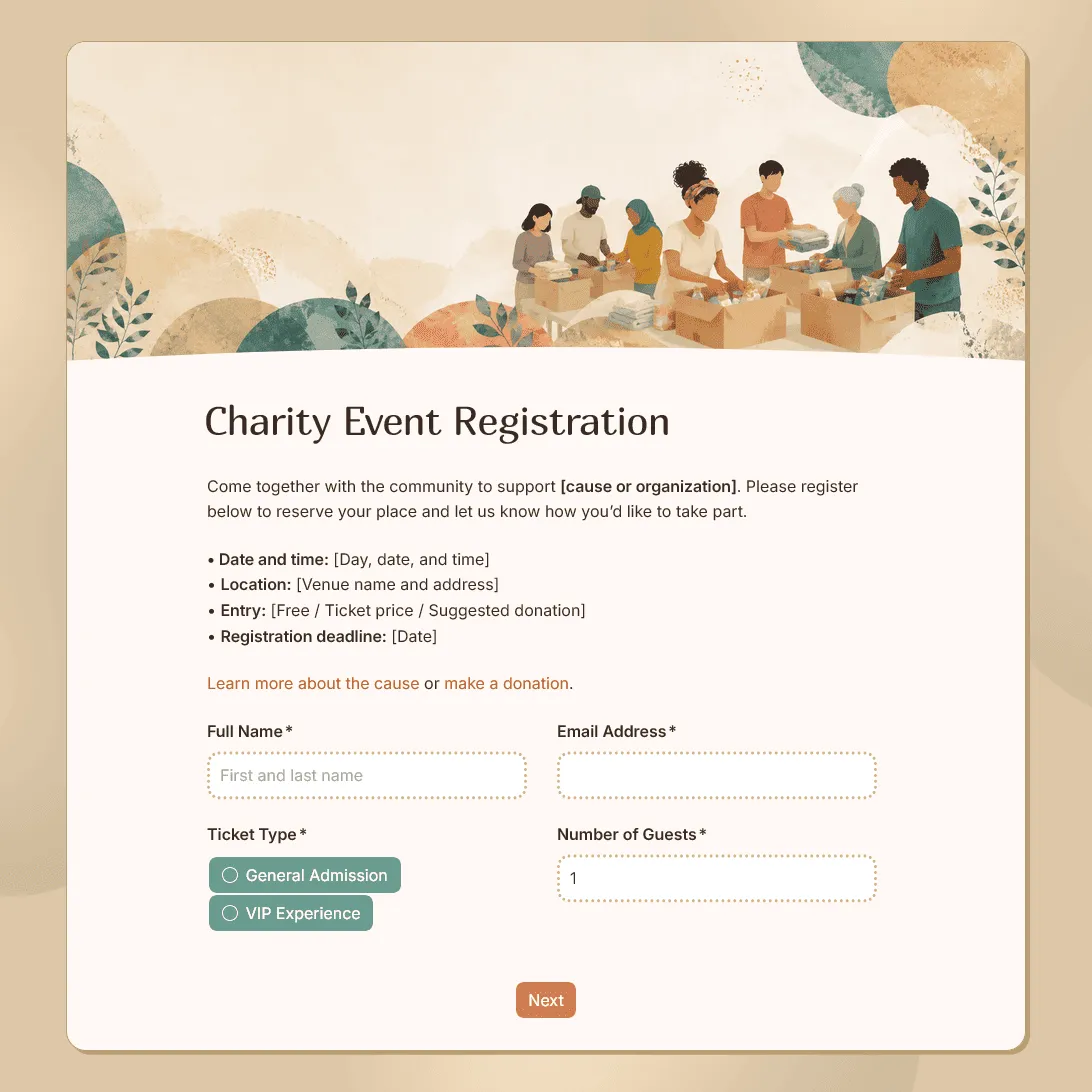
Charity Event Registration Form Template
Free charity event registration form template for fundraisers, charity walks, nonprofit events, and community campaigns.

Church Camp Registration Form Template
Free church camp registration form template for summer programs and faith-based events. Collect camper details, parent contacts, and more.
About registration forms
A registration form is the digital front door to your event. It is where interested people go from “thinking about it” to “officially signed up”, and the experience they have filling it out shapes their first impression of everything that follows.
A good registration form is short, clear, and gives attendees confidence that their spot is secured. A bad one creates confusion, collects unnecessary information, and sends people away before they finish.
What makes a registration form work well?
Ask only for what you actually need.
Every extra field you add reduces your conversion rate. If you are running a free webinar, do you genuinely need someone’s phone number? If not, do not ask for it. Start with name and email and add fields only when there is a clear operational reason for the data.
Put event logistics at the top.
Date, time, location (or the link for virtual events): these should be visible on the form itself. People should not have to go back to your website to confirm the basics.
Set clear expectations about what happens next.
The most common source of post-registration confusion is not knowing when or how to expect confirmation. Use the confirmation page and the auto-reply email to tell registrants exactly what to expect: when they will receive the access link, where to find parking, what to bring, or how to add the event to their calendar.
Manage capacity actively.
If your event has a hard limit (physical venue capacity, a software seat limit for a webinar platform, a fixed number of market stalls), set a submission cap on your form. When the limit is hit, the form automatically closes and shows a custom message rather than continuing to accept registrations you cannot honor.
Send a confirmation immediately.
Registration confirmation emails have some of the highest open rates of any email type because they are expected. Use that moment to include everything the registrant needs: the date, time, location or join link, and a calendar file if you can provide one.
How to set up a registration form in FormGrid
All the templates in this section are free.
- Choose a template. Click “Use this template” to copy it into your FormGrid workspace.
- Update the event details. Edit the form title and description to reflect your specific event (name, date, time, and location).
- Customize the fields. Remove fields you do not need and add any that are specific to your event. For job fairs, you might add a resume upload field. For vendor fairs, you might add questions about booth requirements.
- Set a submission cap (if needed). If your event has a fixed number of spots, set the maximum in your form settings. The form will close automatically once the limit is reached.
- Write the confirmation message. Include everything the registrant needs to know. This is your chance to make a strong first impression and reduce follow-up questions.
- Share or embed. Copy the link to share in promotional emails or on social media. If you have an event landing page, grab the embed code and drop the form directly into the page.
For a more detailed walkthrough, see our guide on how to create an online registration form. It covers planning the form, choosing fields, setting up logic, writing the confirmation message, and testing the form before publishing.
Need something outside these templates? Click “Generate your form” and describe your event or program in a sentence or two to get a fully custom template tailored to your needs.
Frequently asked questions
What is the difference between a registration form and an application form?
A registration form is for signing up people who are already welcome to attend. An application form is used when you need to evaluate and select who gets a spot. If your event or program has a selection process (a market where you choose which vendors to accept, or a training cohort with limited seats and eligibility criteria), that is an application, not a registration.
How do I send login details or event links after someone registers?
You can add the link and any relevant details to your form’s confirmation message, which is shown to every registrant immediately after they submit. You can also write a custom confirmation email that goes out automatically at the same time. For more advanced automation, you can connect your form to an email marketing tool or CRM.
Can one person register multiple attendees?
Yes. You can add repeating sections or extra fields to let a single person register on behalf of several colleagues. This is common for job fair employer registrations (“How many representatives will you bring?”) and for corporate event signups where an office manager handles a whole team.
Can I embed the registration form on my website?
Yes. Once your form is published, FormGrid gives you an embed code you can paste into any website builder, such as WordPress, Webflow, Squarespace, Framer, or custom HTML. Registrants can fill out the form without leaving your site.
Can I collect a registration fee through the form?
You can include payment instructions in your confirmation message and ask registrants to pay via their preferred method (bank transfer, PayPal, etc.). The form collects the registration information, and payment is handled separately.
How do attendees add the event to their calendar after registering?
You can include the event’s date, time, and a downloadable calendar file (.ics format) in your confirmation message. Alternatively, clearly include the date, time, and any access details so registrants can add it themselves.
Is it possible to send a reminder email before the event?
FormGrid’s submission notifications go out immediately when someone registers. For timed reminders in the days leading up to your event, you can connect your form to an email marketing tool and set up a reminder sequence from there.
What happens after the event?
Once your event is over, the work is not quite finished. Collecting feedback from your registrants is the best way to improve for next time. For inspiration on what to ask, see our comprehensive guide on post-event survey questions.
Is FormGrid’s registration form template free?
Yes. All FormGrid templates are free. You can collect unlimited registrations, set capacity limits, and use the full form builder at no cost.