How to Make a Poll on Google Forms
Google Forms is a quick way to create a simple poll for free. You can set up a one-question vote in a few minutes, share it with a link, and view results as responses come in.
But a Google Forms poll needs to be set up properly. A few small choices affect whether people can vote more than once, whether responses stay anonymous, and what voters see after they submit.
This guide walks you through how to create a poll in Google Forms, choose the right question type, adjust the key settings, share your poll, and check the results.
How to make a poll on Google Forms
Here is how to make a poll on Google Forms step by step.
Step 1: Create a new blank form
Go to Google Forms and sign in to your Google account. Click the large plus icon labeled “Blank form” to create a new, untitled form.
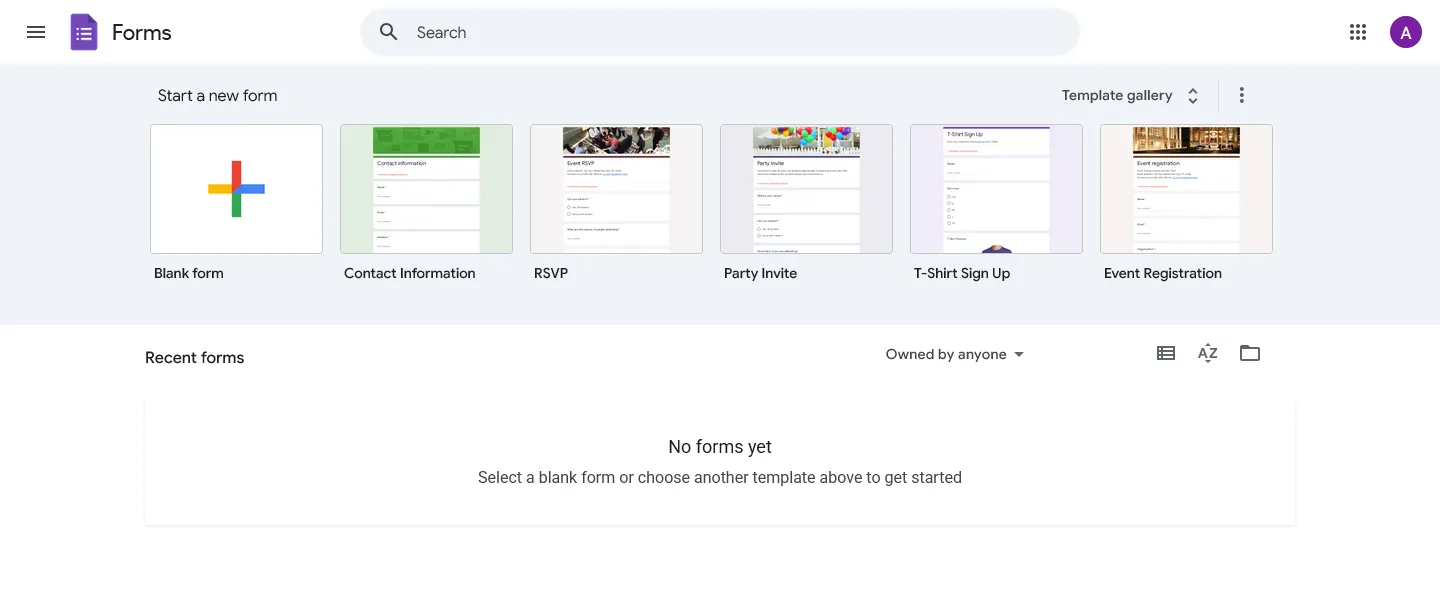
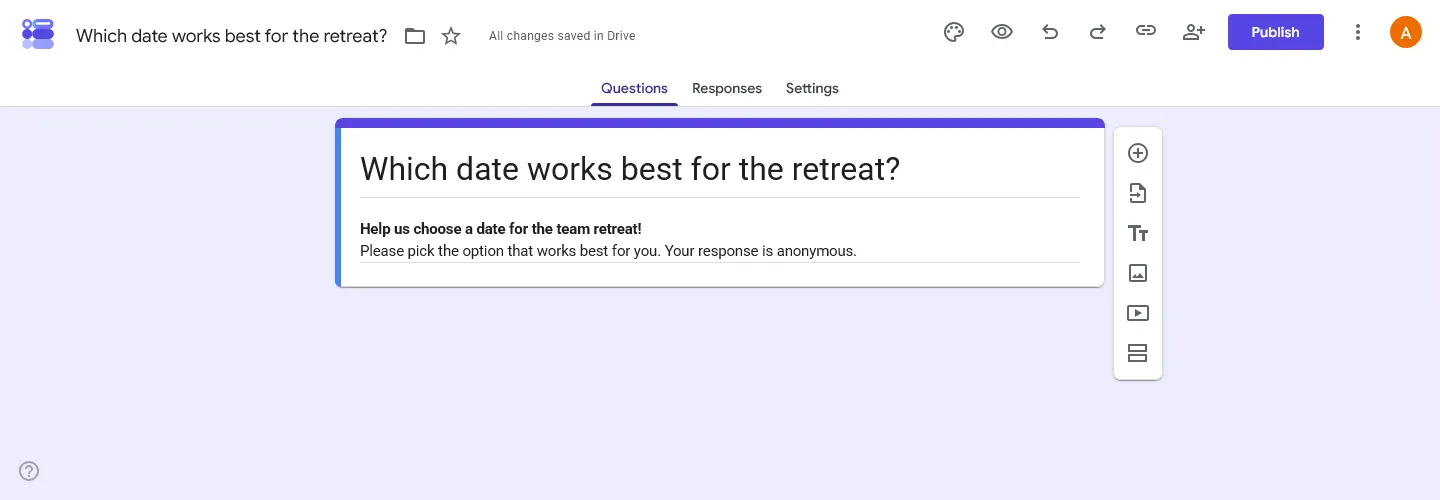
Give your form a clear title. A direct question like “What should we name the new feature?” or “Which date works best for the retreat?” works much better than a generic title like “Project Poll.” It tells people what they are voting on right away.
Below the title, you can add a form description. Use it for context people need before voting. For example, you might want to clarify when the voting closes, why the poll is being conducted, or how the results will be used.
Step 2: Choose the right question type
Google Forms adds a multiple-choice question by default. For most polls, this is the best option. It lets voters see all the available options at once and choose a single answer.

You can change the format from the question type dropdown on the right side of the question box:
- Multiple choice: Best for a standard poll where voters can only pick one option.
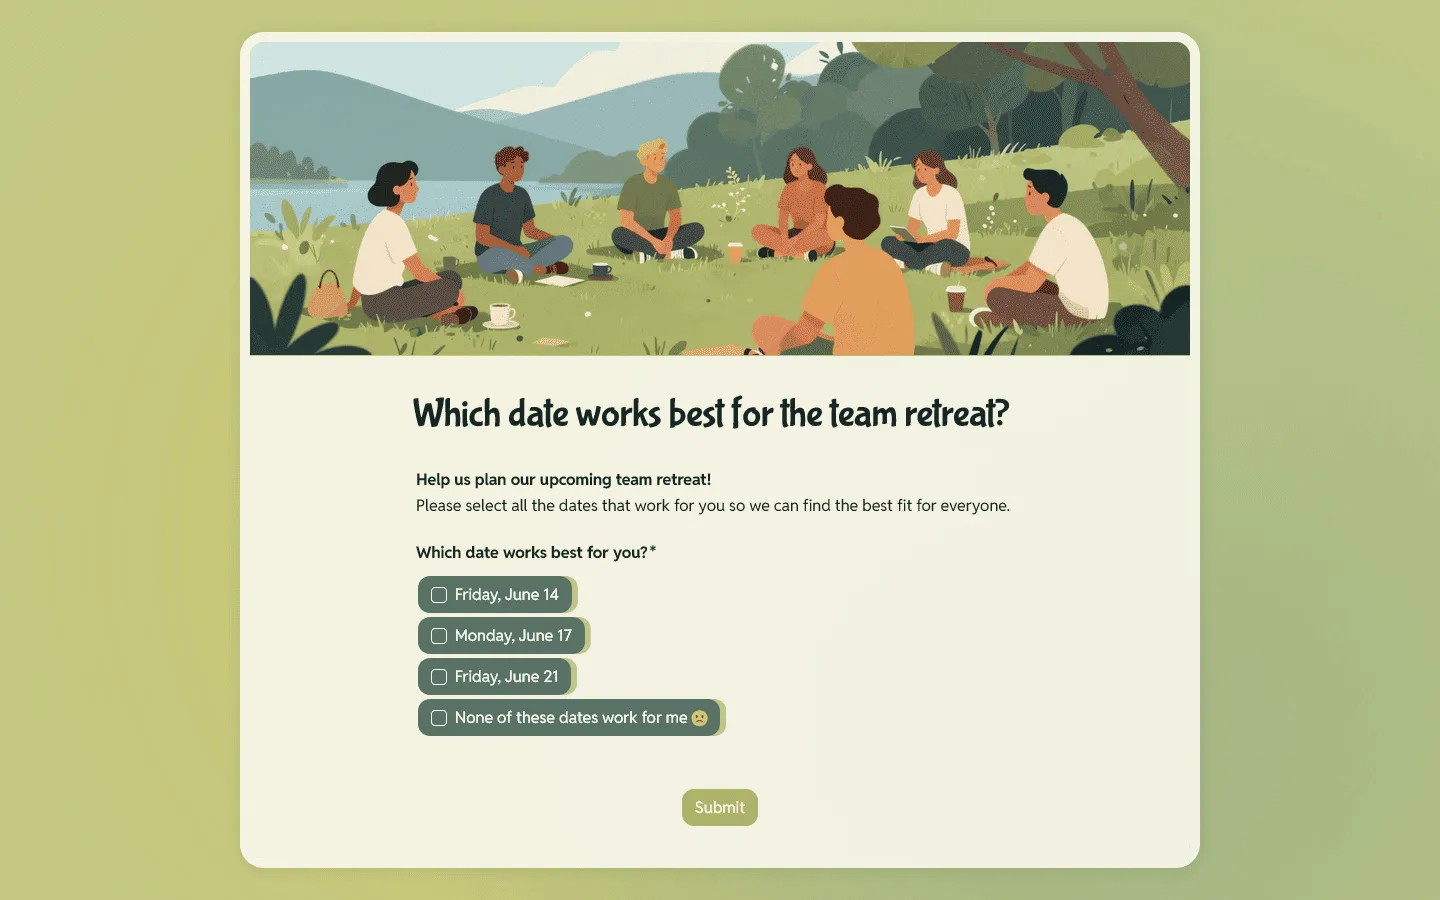
- Checkboxes: Best if you want to allow people to vote for more than one option (e.g., “Select all the days you are available”).
- Dropdown: Best if you have a very long list of options, like picking a country, a state, or a specific department. This saves screen space and keeps the poll looking tidy.
- Linear scale: Best for rating something on a scale, such as “How much do you like this design from 1 to 5?”
Step 3: Add your poll options
Click on the text that says “Option 1” and type your first choice. Press the Enter key on your keyboard to quickly add another option right below it. Repeat this until all poll options are listed.
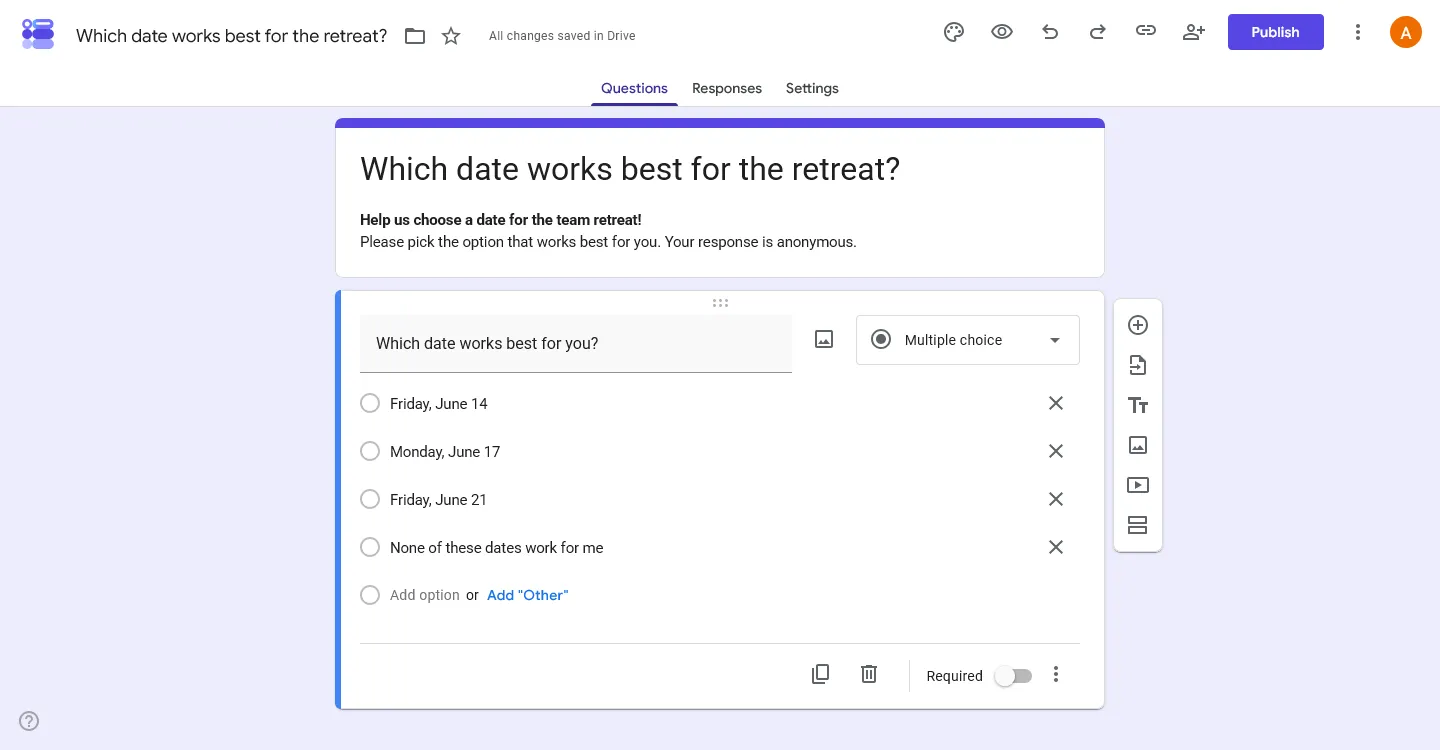
To let people suggest their own answer, click the Add “Other” link. This adds a blank text field at the bottom of your list where respondents can type a custom response.
Adding images to your options
Images can make your poll easier to understand. If you are asking people to vote on a new logo, a t-shirt design, or a venue location, you can attach an image to each option. Simply hover your mouse over the option text and click the small image icon that appears on the right. You can upload images from your computer, Google Drive, or a web search.
Step 4: Configure the poll settings
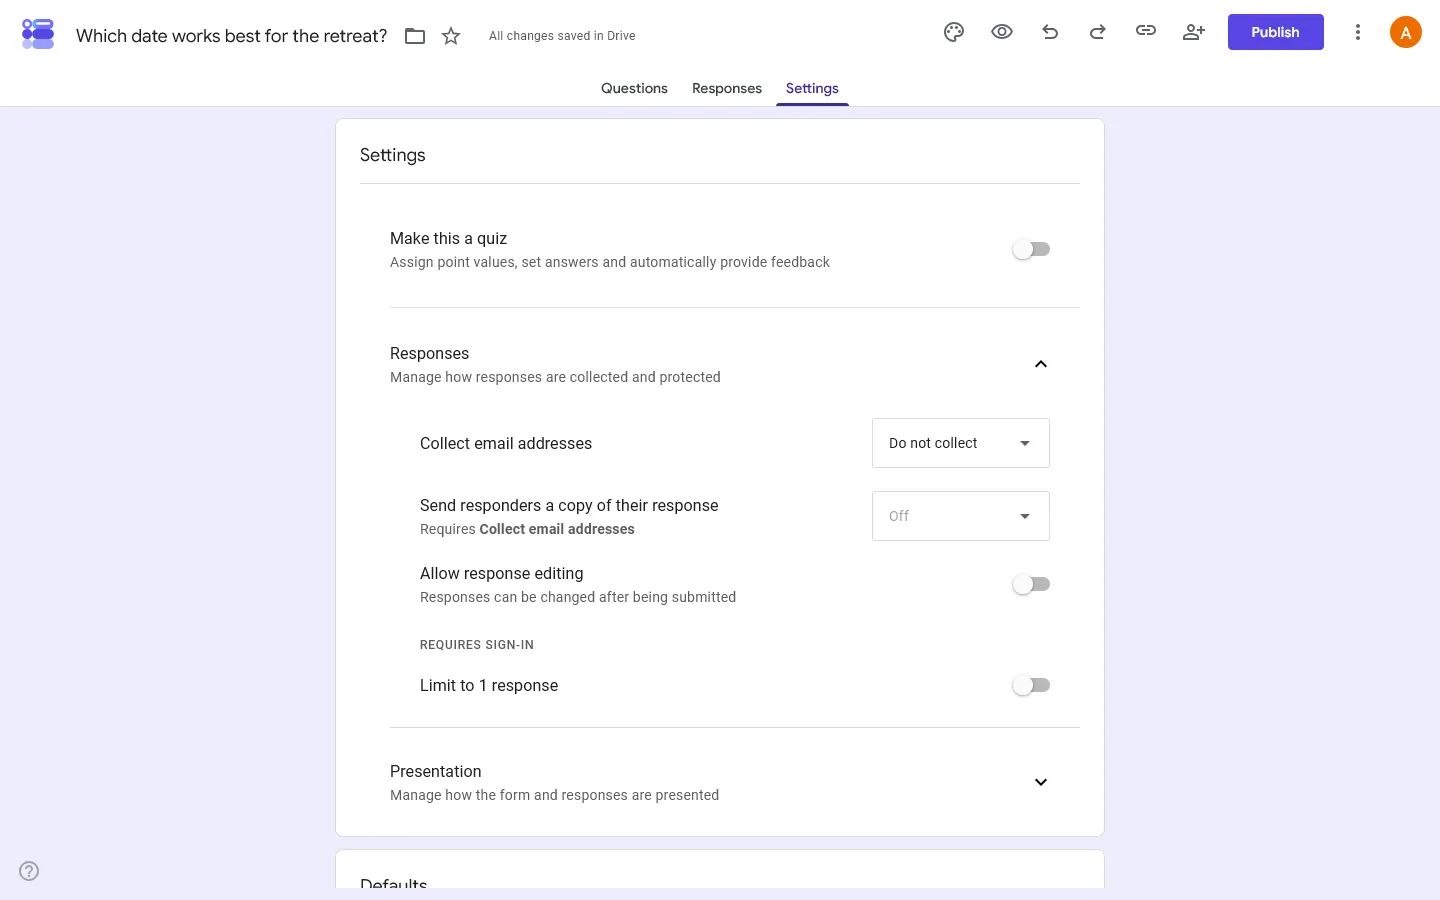
Before sharing the poll, check the settings. This is where you control voting limits, anonymity, and result visibility. Click the Settings tab at the top middle of the page.
How to limit votes to one per person
To prevent duplicate votes, open the “Responses” section and toggle on Limit to 1 response. Keep in mind that turning this on forces respondents to sign in to their Google account to participate.
How to let respondents see the results
If you want voters to see how everyone else voted immediately after submitting, go to the “Presentation” section and turn on View results summary. If the votes need to remain confidential until a final decision is made, leave this setting turned off.
How to keep the poll anonymous
By default, Google Forms does not record who submitted which vote. To keep it that way, make sure the Collect email addresses option in the Responses section is set to “Do not collect.”
Also note that if you turn on Limit to 1 response, voters must sign in to a Google account to participate. Google says their usernames are not recorded unless you also collect email addresses, but the sign-in step can still make some people less comfortable responding.
Step 5: Customize the design
Click the palette icon in the top right corner. Google Forms gives you a few basic design options. You can choose a header image, change the primary theme color, and select from a few basic font styles.
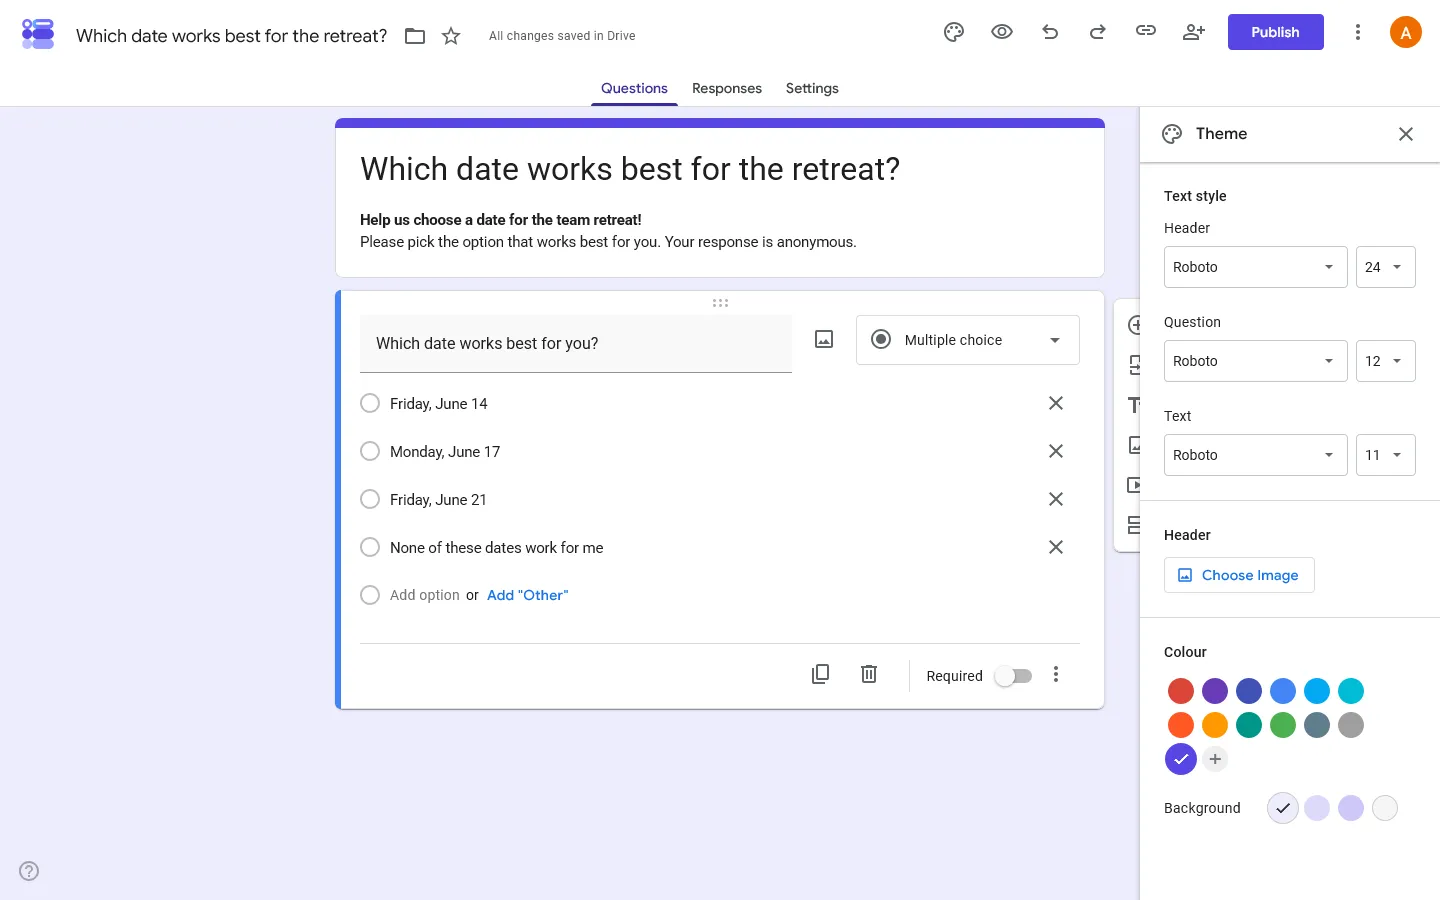
The customization is limited, but a header image can make the poll feel more polished.
Step 6: Share the poll with your audience
Once your questions and settings are ready, click the purple Publish button in the top right corner.
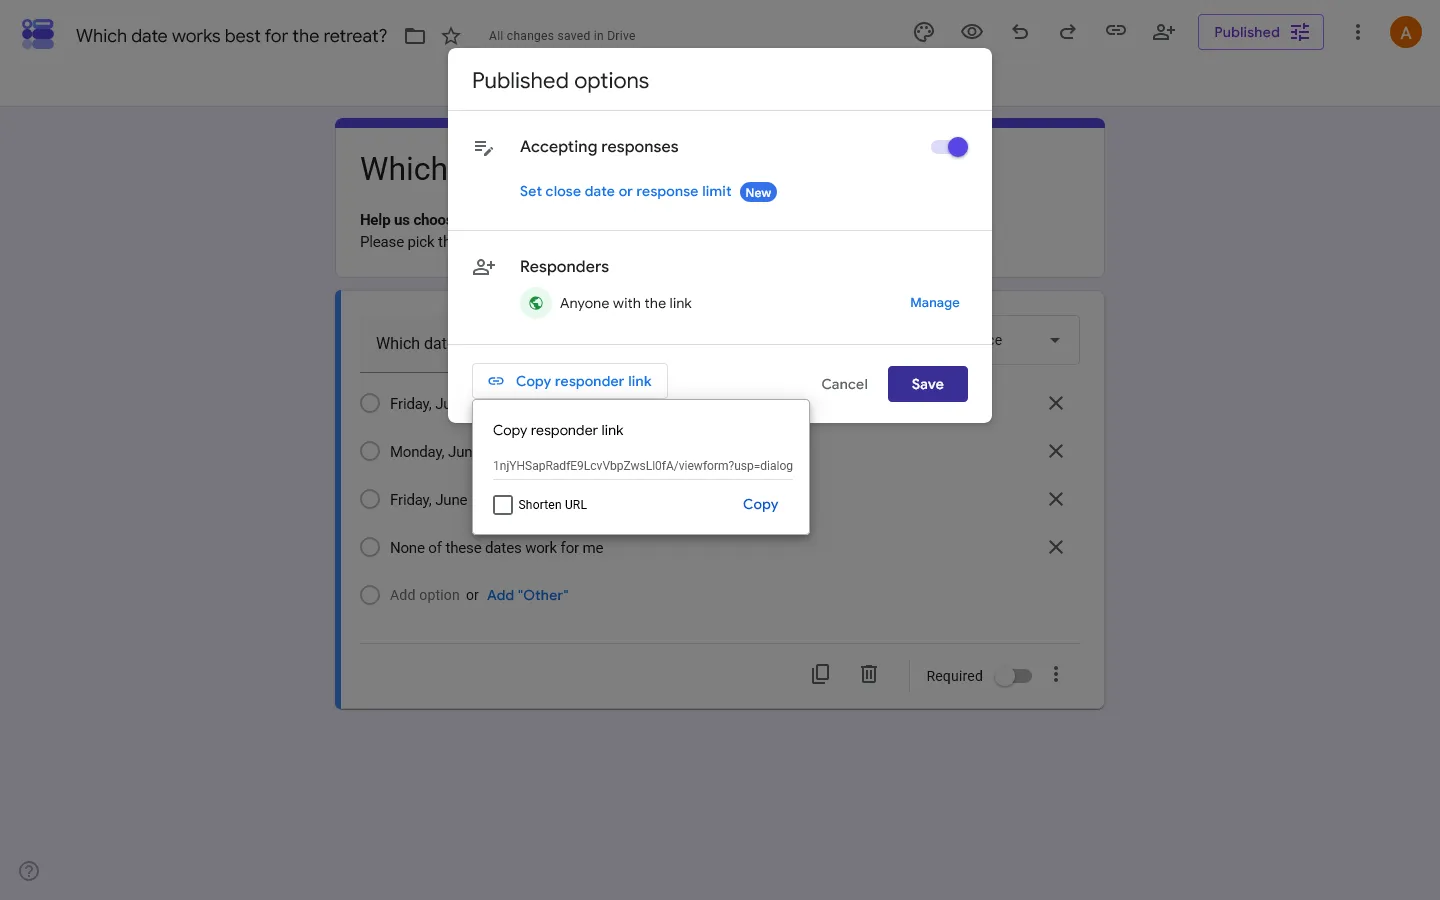
You can share your Google Forms poll in a few different ways:
- Responder link: Copy the responder link and share it via email, Slack, WhatsApp, Teams, or social media.
- Email: Share the form directly with specific people from the Share menu.
- Embed: If you want the poll on your website, copy the HTML embed code and paste it into your site.
If you want a shorter link, enable Shorten URL before copying it.
How to view and analyze poll results
As people submit their votes, Google Forms compiles the data in real time.
To check the results, open your form and click the Responses tab at the top. You will see a visual summary of the votes. For multiple-choice questions, Google Forms automatically generates a pie chart. For checkboxes, it generates a bar chart.
If you chose to collect email addresses or added a question asking for names, you can click the “Individual” tab to review exactly how each specific person voted.
Exporting to Google Sheets
To work with the raw data, click the green “Link to Sheets” icon in the top right corner of the Responses tab. This will automatically populate a Google Spreadsheet with all the votes, including a timestamp of when each vote was submitted. As new votes come in, the spreadsheet will update automatically.
Advantages and disadvantages of using Google Forms for polls
Google Forms works well for simple polls, but it is not right for every situation. Here is a quick look at its pros and cons.
Pros
- It is free: You get full access to all features without a paid subscription.
- It is easy to use: Most people can create a basic poll without needing instructions.
- It integrates with Google Workspace: You can send responses straight into a spreadsheet.
- Real-time charts: The built-in pie charts and bar graphs make it easy to see results.
Cons
- Design limitations: You cannot change the core layout or structure of the form. Most Google Forms still look like Google Forms., which can be an issue if you need a heavily branded experience.
- Rigid result sharing: If you let people view the results summary, they see the exact same backend pie chart you see. You cannot customize this page or redirect them to a specific landing page based on their vote.
- No advanced poll features: It lacks features specific to polling, such as setting an automatic expiration date/time, or hiding options once they receive a certain number of votes.
Other ways to make a poll
Google Forms is fine for a basic poll. It is quick, free, and easy to share.
It gets limiting when you want the poll itself to have more personality. The layout is fixed, styling is minimal, and the results page is pretty plain.
FormGrid is a Google Forms alternative with more control over the poll experience. You can generate a unique poll in seconds from a prompt, with no signup required.
Common Google Forms poll mistakes
A few settings can change how your poll works:
- If Collect email addresses is on, your poll is no longer fully anonymous.
- If Limit to 1 response is off, the same person may be able to submit more than once.
- If you use Checkboxes instead of Multiple choice, people can select several answers.
- If View results summary is enabled, respondents may be able to see the current results right after submitting.
Troubleshooting a Google Forms poll
Why does my poll ask people to sign in?
This usually happens because Limit to 1 response is turned on.
Why can people see the results after voting?
Check Settings > Presentation and turn off View results summary if you do not want respondents to see charts or text responses.
Why is my poll no longer accepting responses?
Open the form and check the Published settings. The form may be closed manually, set to close on a date, or capped at a response limit.
Frequently asked questions
Can people vote more than once on a Google Forms poll?
Yes. People can vote more than once unless you restrict submissions. To prevent multiple votes, go to Settings > Responses and toggle on “Limit to 1 response”. Note that this requires voters to sign in to a Google account to participate, which helps ensure they only submit one vote.
Are Google Forms polls anonymous?
Yes, by default, Google Forms polls are anonymous. It does not track who selected which answer. If you need to know who voted, you must go to Settings > Responses and set “Collect email addresses” to either “Verified” or “Responder input”.
How do I close a poll in Google Forms when voting is over?
To stop accepting new votes, go to the Responses tab and toggle off the switch labeled “Accepting responses”. You can also add a custom message, such as “Voting has closed. Thanks for participating.”.
Can I set a deadline or timer for a Google Forms poll?
Yes. Google Forms now lets you set a close date and time or a response limit. Open the form, go to the Responses area, and use the option to set a close date or response limit. You can still close the poll manually at any time by turning off Accepting responses.